Hi.
Here you can buy original crochet patterns, learn new techniques, and dip into stories of life in the South of Sweden. Welcome!

Here you can buy original crochet patterns, learn new techniques, and dip into stories of life in the South of Sweden. Welcome!
In this tutorial I'll show you how to use up small pieces of leftover fabric and yarn oddments to make a neckwarmer for kids (or adults, because, whyever not). You'll get a handmade piece that is cute as well as practical: the wool will give warmth but the soft cotton used to line it will make sure there is no scratchiness. The buttons make this an especially great accessory for kids, because it can't unwrap and fall off!
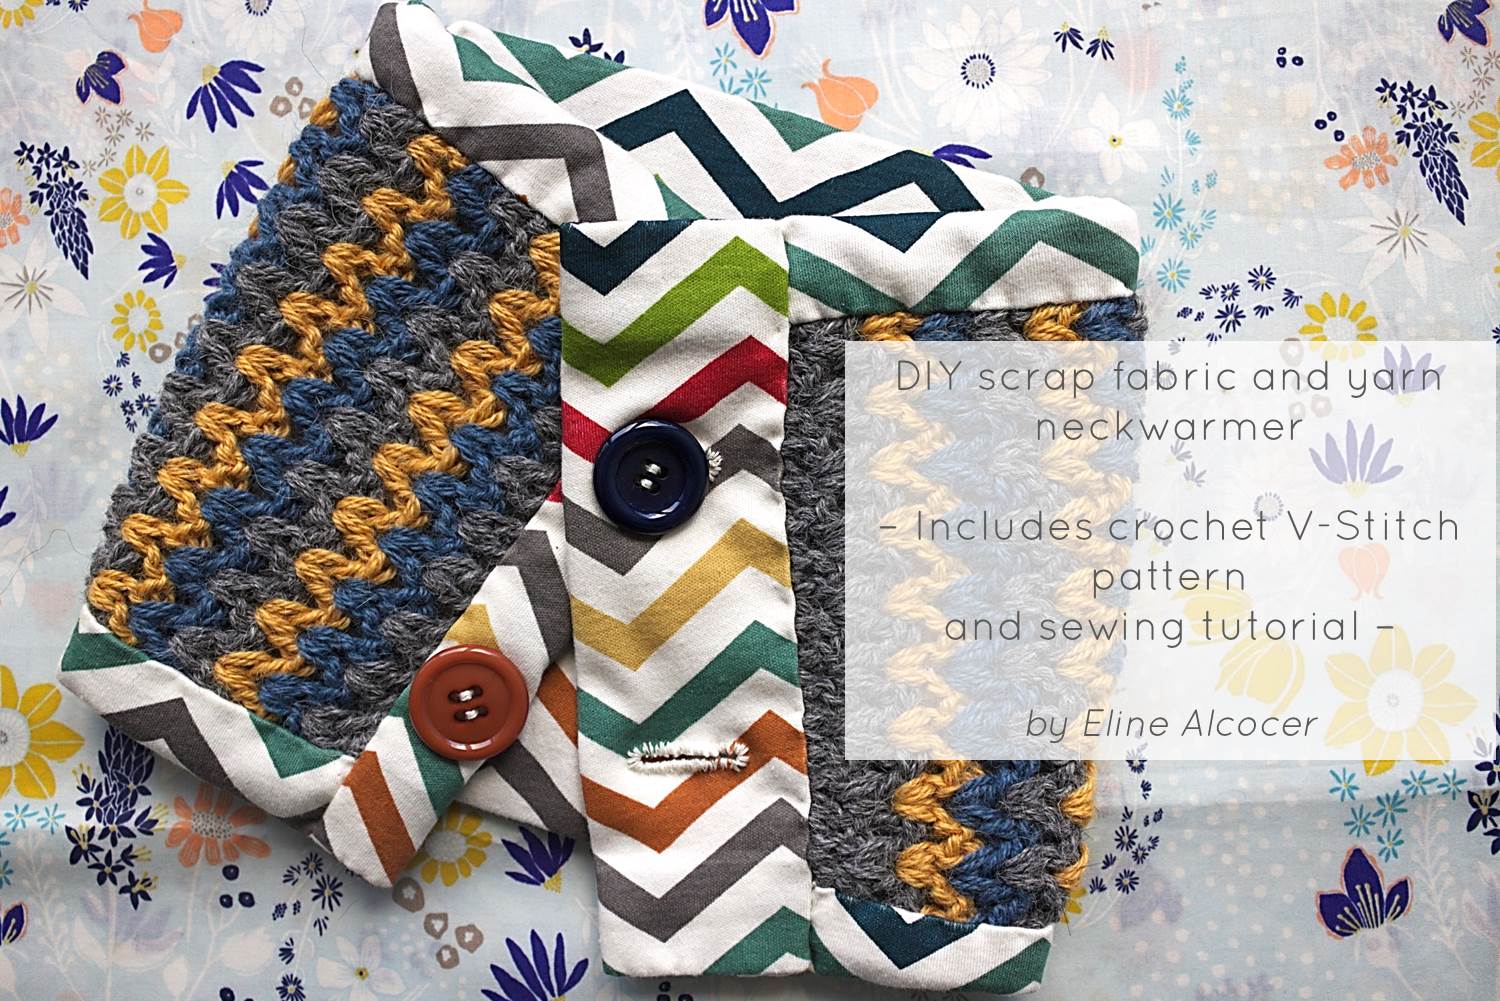
You'll learn how to handcrochet the woolly part using the V-stitch, but you could also knit something to the same dimensions. The texture of a simple garter stitch would work really well, or cables would of course look fabulous. Can't knit or crochet? Just cut a piece to the desired size out of an old woolly jumper, because we all love upcycling (and it would make this a lot faster, too).
For the fabric, I recommend a good quality, soft knit jersey in 100% cotton - the kind of slightly stretchy fabric you use for making t-shirts. Any size will do, as what we´re trying to do here is use up those little off-cuts and left-overs. The jersey you see in the pictures is 100% organic cotton by Birch.

For the yarn I would go for a nice, soft wool or wool blend to ensure warmth and snugness. With an aran weight (medium weight) yarn the rectangle will work up quickly, and if you don't have any aran in your stash you can always take two strands of sport weight yarn together, as I've done here. Again, the idea is to use whatever you have to hand. I would make sure you have three colours though, so that you can carry your yarn up instead of cutting it off at the end of every row (see tutorial below).

This tutorial consists of two parts:
PART I - how to handcrochet a rectangle in V-stitch
PART II - how to sew a wool rectangle and cotton rectangle together to make a neckwarmer.
Feel free to go straight to Part II if you don't want to crochet your wool rectangle!
MATERIALS
any aran-weight yarn of your choosing in 3 colours (I've used two strands of Drops Alpaca)
size 5 crochet hook
wool needle
Refer to chart 1 below to gauge size. Tension is not important, as it is easy to adjust the width of the rectangle by increasing or decreasing by a multiple of two stitches. If you're unsure about the length, too long is better than too short.

This pattern uses a Foundation Treble Crochet (FTC) to begin with, as this will give you a straighter, stretchier edge. I've included step-by-step photos, but if you don't feel comfortable with it then you can do a normal chain + TC row start.
PATTERN
NOTE: THIS PATTERN USES UK TERMS
FTC row:
With colour A, chain 3 (counts as first st).

YO and insert hook into 1st chain. YO again.

Pull up a loop so there are 3 loops on the hook. YO again.
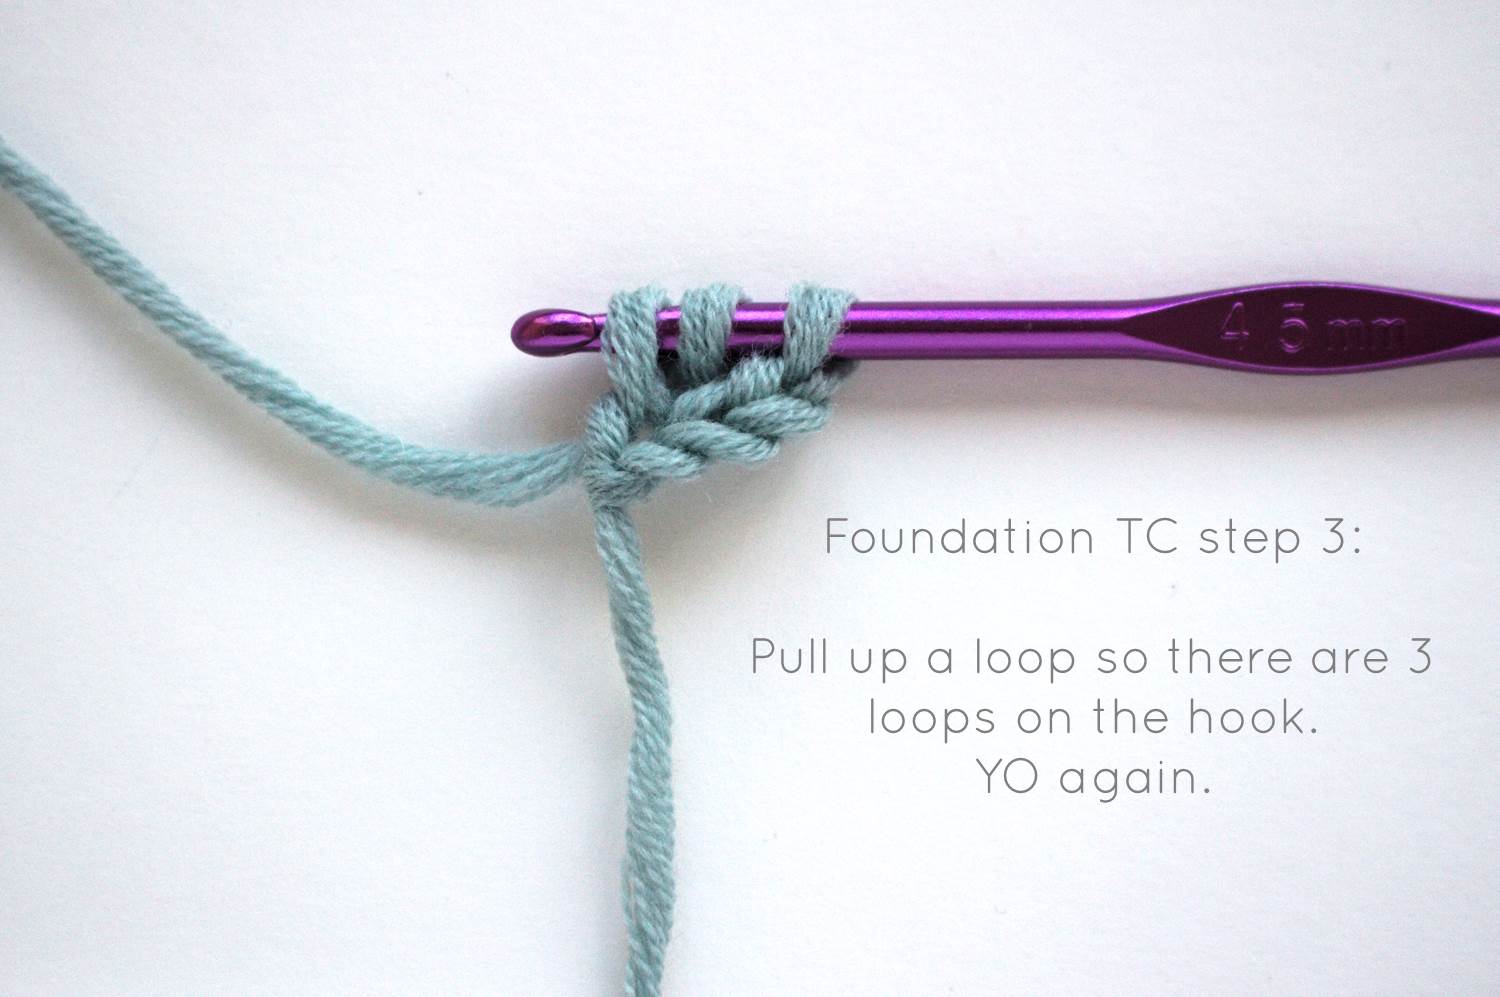
Pull up a loop. This stitch acts like a fake "chain" and is what makes the whole thing work! YO again.

Now TC as you normally would: pull through the first 2 loops, then YO and pull through the remaining 2 loops. This is your first completed FTC.


To continue the FTC row, YO and insert your hook in the "chain" of the FTC you just made, then pull up a loop and YO again. Pull up a loop again to make the "chain" for this stitch. Then TC as normal.

Continue until you have 14 (16, 20, 22, 24) stitches in total. Turn.
V-Stitch Row 1:
Ch. 3, then TC 1 in the space between the first two FTC of the previous row.

Skip 2, then TC 2 in the space between the next two FTC of the previous row.

Continue like this until the last stitch. Do not finish this stitch, but make the last YO with colour B, then complete the st. Turn.


V-Stitch Row 2:
Ch. 3, then TC 1 in the middle of the first pair of TC of the previous row. Skip 2, the TC 2 in the middle of the next pair.

Continue to end, changing to colour C on the last stitch. Turn.
Repeat V-stitch Row 2 until you have a total of 23 (27, 31, 33, 35) rows, including the FTC row. Don't cut the colour you're not using - just carry it up the sides and pick it up again when you need it. We'll hide this with the fabric later.

Do not change colour on the last row.
Finishing row:
Ch. 3, TC 1 in next st., then TC 1 in each st. to end. Cut and tie off. You should now have 23 (28, 32, 34, 36) rows in total.
Sew in all ends with a wool needle.
That's the crochet part all done. Now go and have a cup of tea while you contemplate part II...

MATERIALS
The crocheted rectangle from Part I OR a finished piece of wool fabric as per the dimensions in chart 1 (see Part I of the tutorial)
A piece of knit cotton jersey, either whole or sewn together from smaller pieces, as per the dimensions in chart 2. The long side should be cut against the grainline.
thread
sewing needle
two buttons
fabric scissors
dressmaking pins
iron

chart 2: dimensions for fabric, and dimensions of the finished neckwarmer

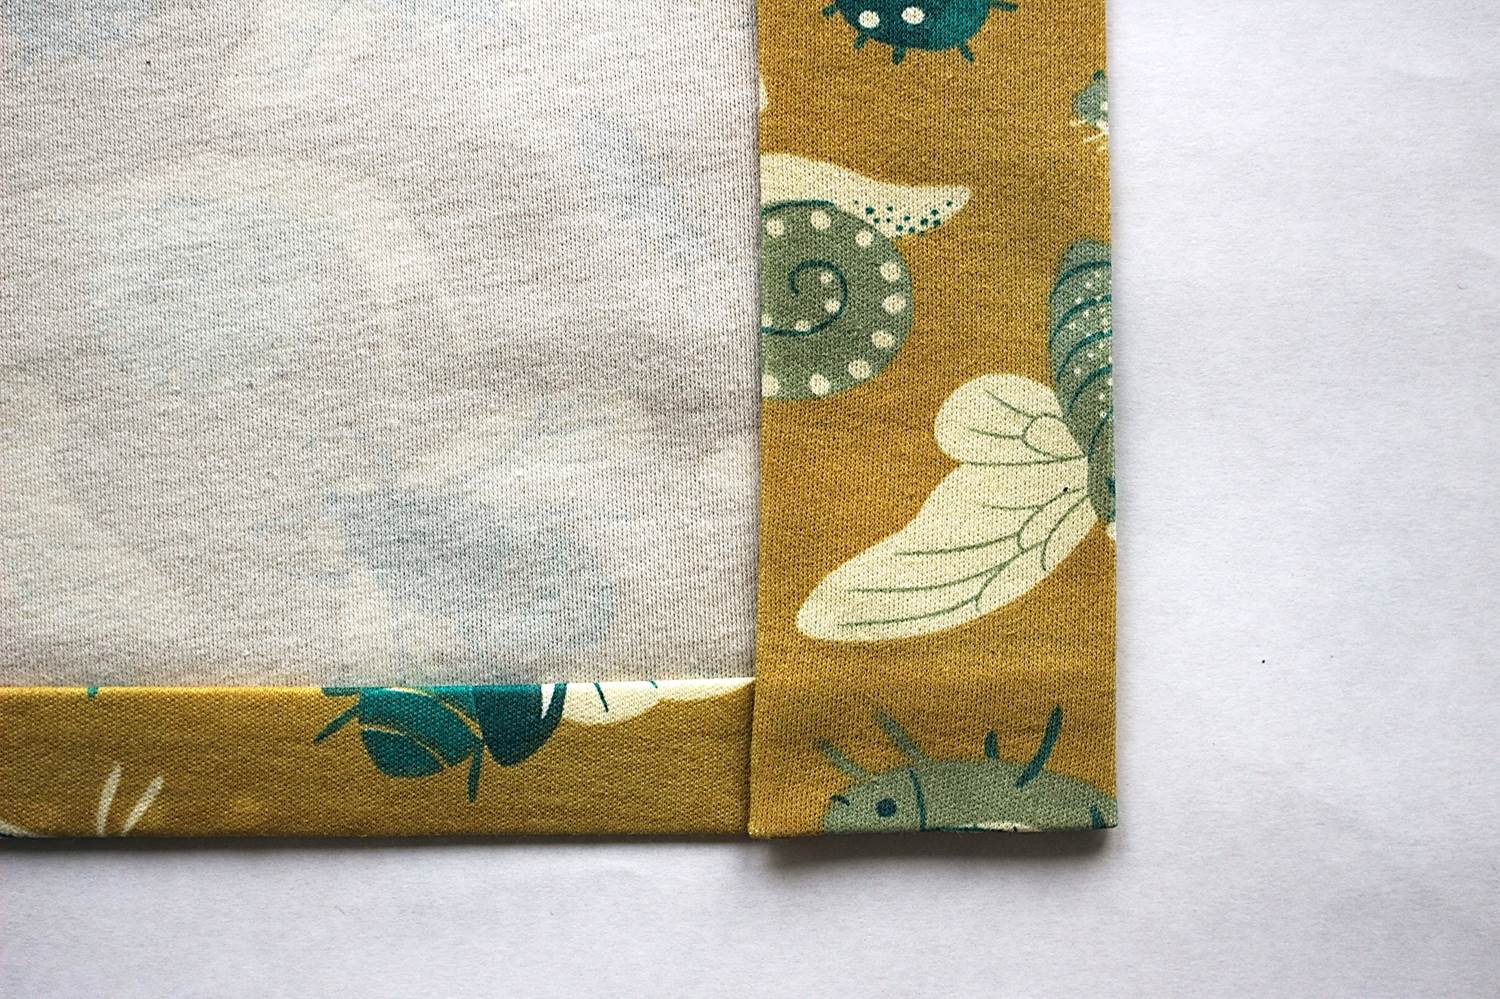
1. Lay out the cotton rectangle, right side down, on an ironing board. Iron it out, and iron down any seams if you've used several scraps. Fold over the long, bottom edge by 2.5 cm and iron flat, then fold in by 0.5 cm and iron flat. Repeat for the long, top edge.


2. Fold over the right side edge by 2.5 cm and iron flat, then fold over again by 0.5 cm and iron flat.

Fold over the left side edge by 5.0 cm and iron flat, then fold over again by 0.5 cm and iron flat.
3. Unfold all your edges and place the wool rectangle on top of the fabric rectangle. You will see that the fabric is longer than the wool piece; make sure the edge of the wool piece sits against the inner fold of narrow side edge of the fabric.

4. Fold the fabric over the wool, starting with the long edges first, then the short edges. Pin everything into place.

5. ew the fabric onto the wool piece using a blind stitch, making sure you don't forget the corners.


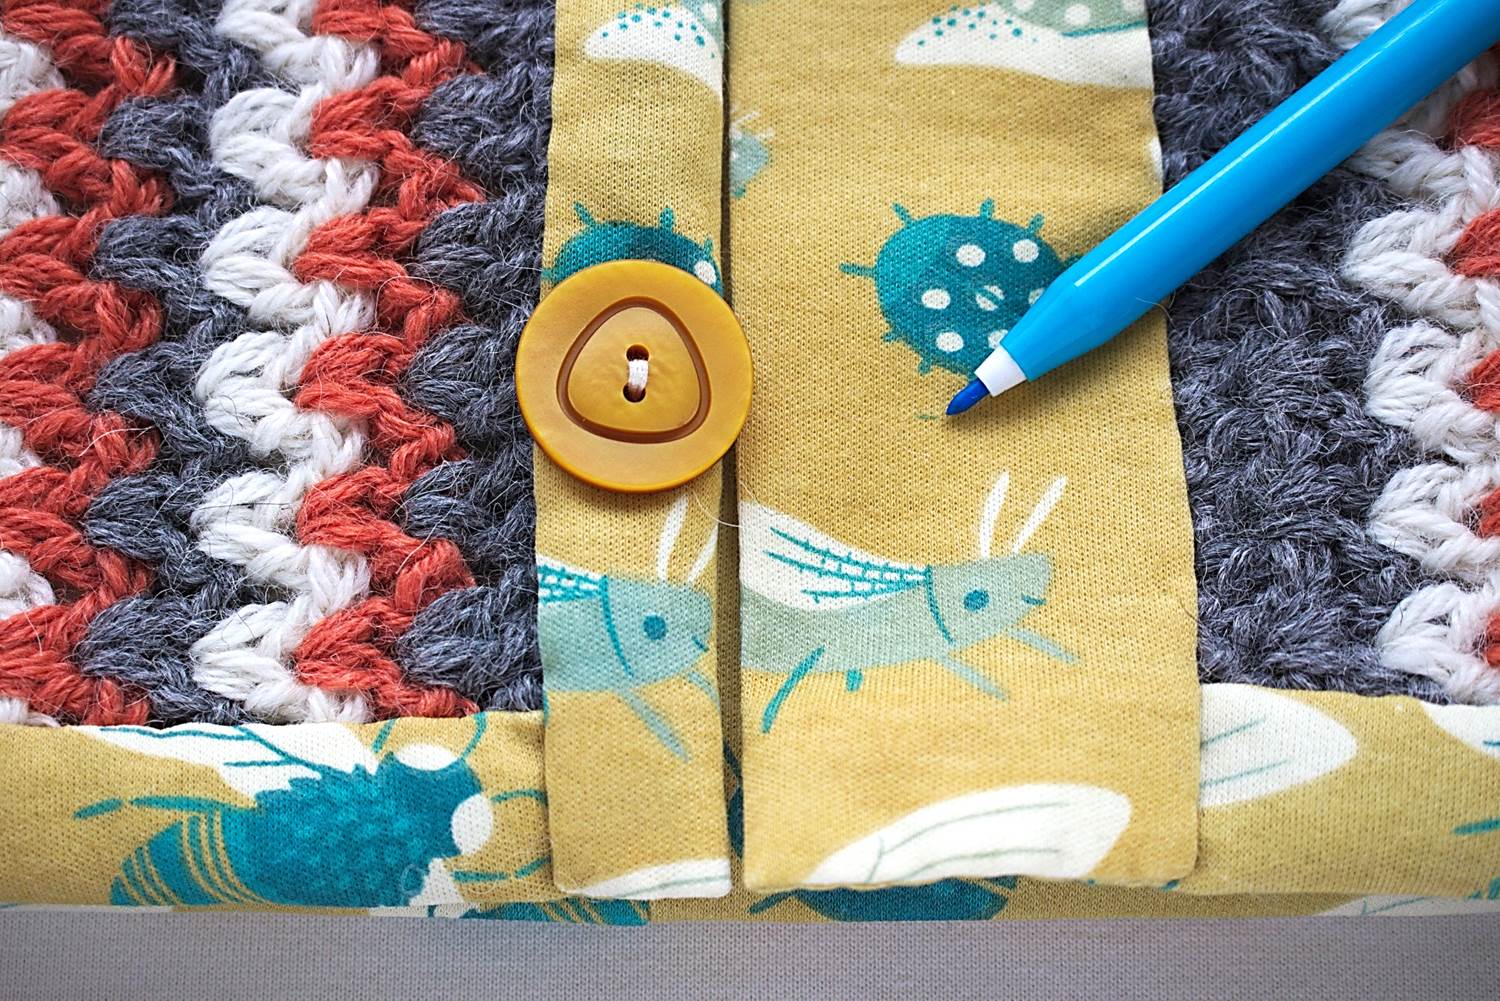
6. Next, we need to attach the buttons. On the narrow side edge, sew one button at 1/3 of the way up, and another button at 2/3 of the way up. Take care to sew them on SECURELY by going through all layers of the piece.

7. Now we need to make button holes. Fold the neckwarmer as you would when wearing it, so that you can see where the button hole needs to go (about 1/3 and 2/3 of the way up). Using a fabric pen, mark out where you need to cut.
Using fine-pointed, sharp scissors, make a horizontal cut that is a few millimeters less than the diameter of the button. Make sure you go through both layers of fabric.

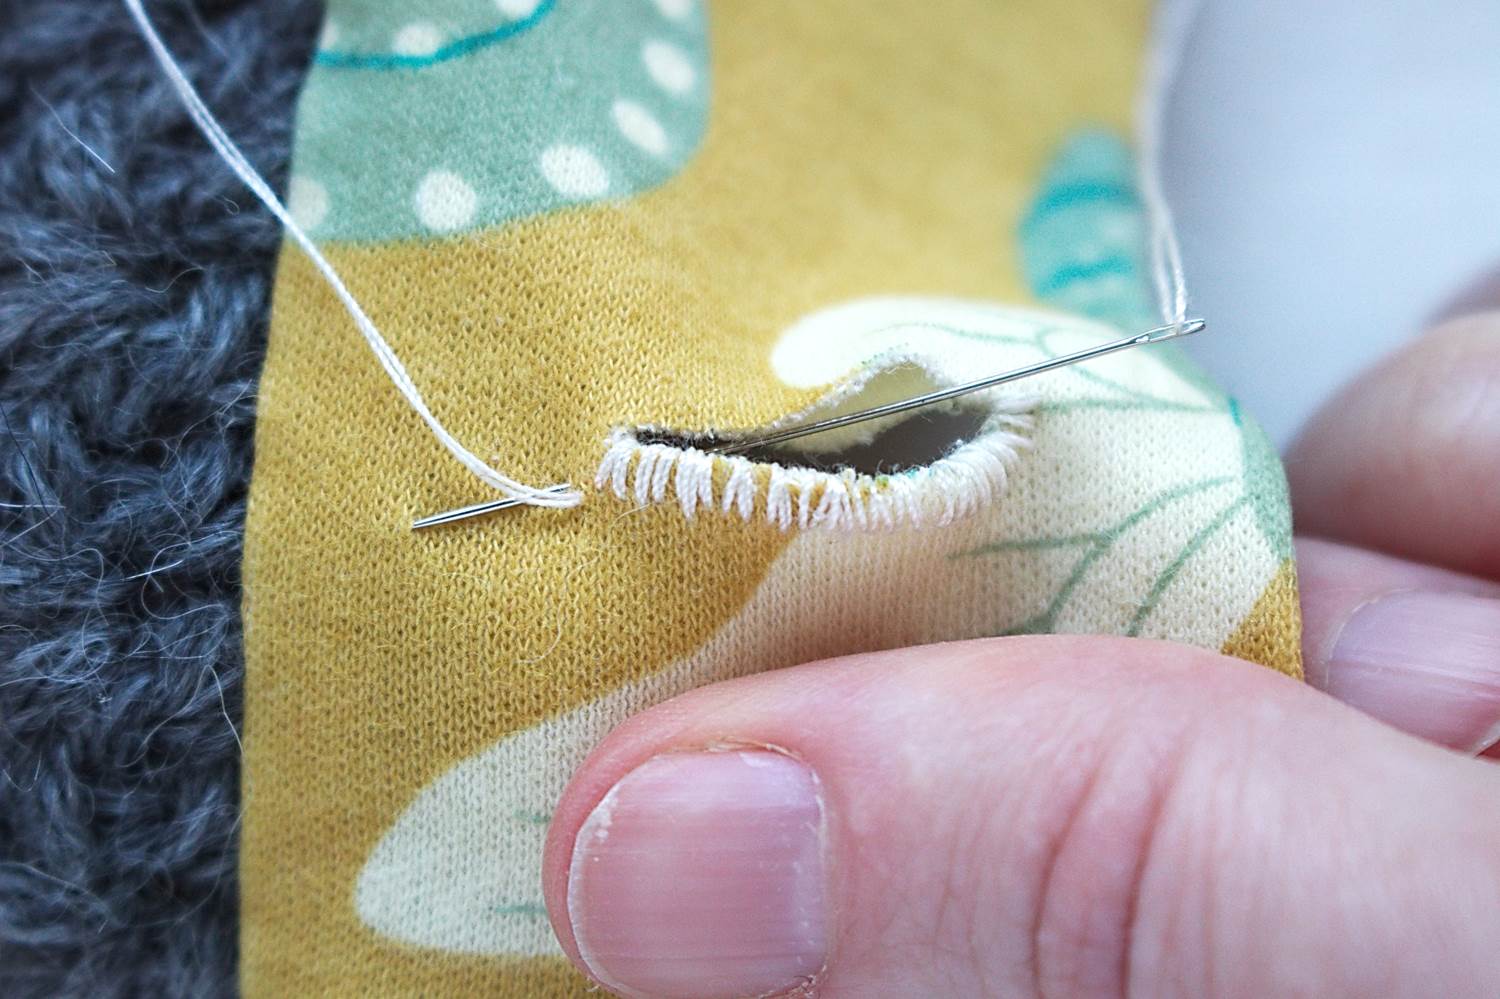
Using two strands of thread, sew around the button hole in looping stitches. Again, make sure you've got the two layers of fabric sewn together.
Repeat for the second button hole, and you're done! Make one, make two, make a whole stack in lots of colours and never let a fabric oddment go to waste again.


Written pattern, tutorial instructions and photos are copyright of Eline Alcocer 2016.
You are welcome to make items from any part of this tutorial as you wish, but please do not sell the tutorial nor claim the any part of it as your own.
You are welcome to sell any item made using this tutorial, but please credit the designer, Eline Alcocer.
Please link back to this page if you write about the tutorial and/or the scrappy neckwarmer in any way.
You may not reproduce the photos, crochet pattern or tutorial, either partially or in full, contained in this post without obtaining written permission from me first.
Thank you!